


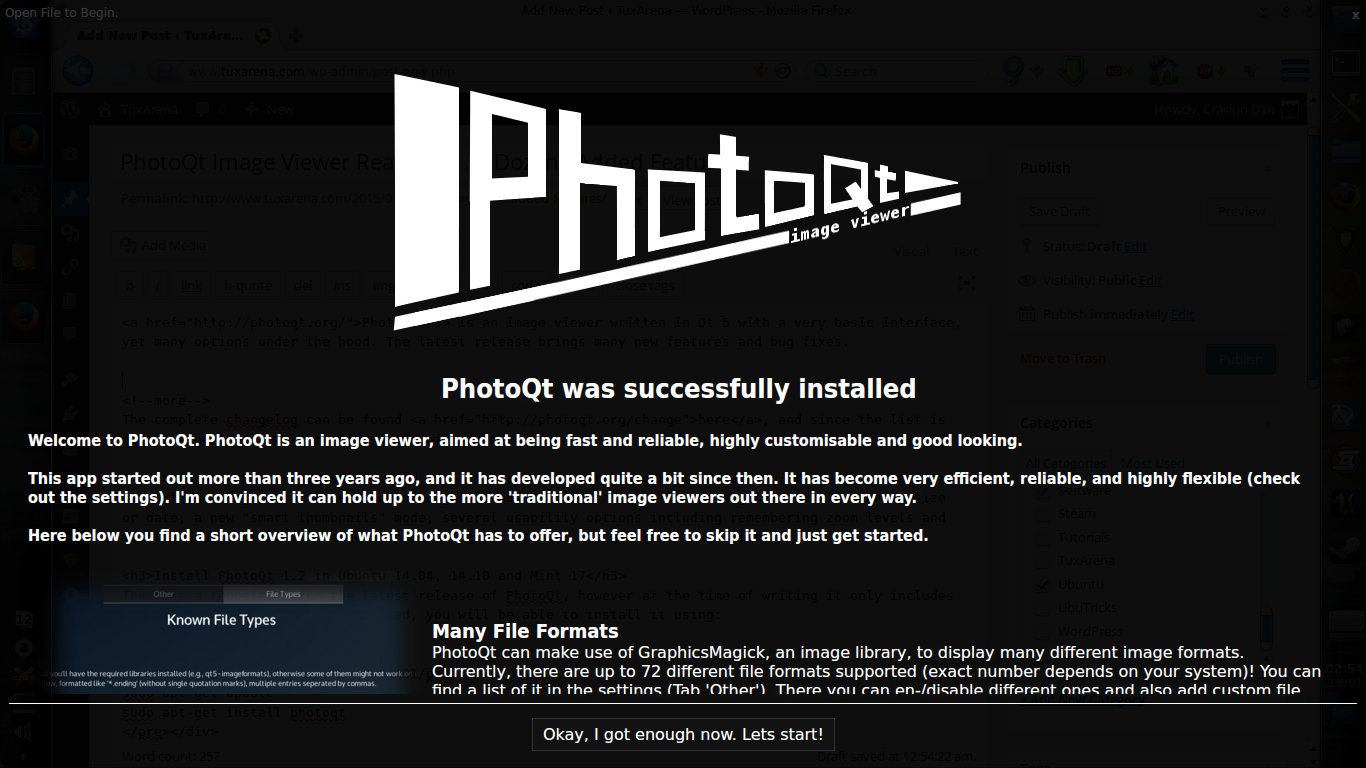
PhotoQt is an image viewer written in Qt 5 with a very basic interface, yet many options under the hood, and a fullscreen mode by default. The latest release brings many new features and bug fixes.
The complete changelog can be found here, and since the list is quite large I will only mention a few of them here.
1.2 ships with better SVG support and support for new formats like XCF and PSB/PSD; there is now better support for large directories, containing over 15000 files; added file sorting criteria like name, size or date; a new “smart thumbnails” mode; several usability options including remembering zoom levels and rotation per session for images; re-ordering of settings and quick settings; many fixes.
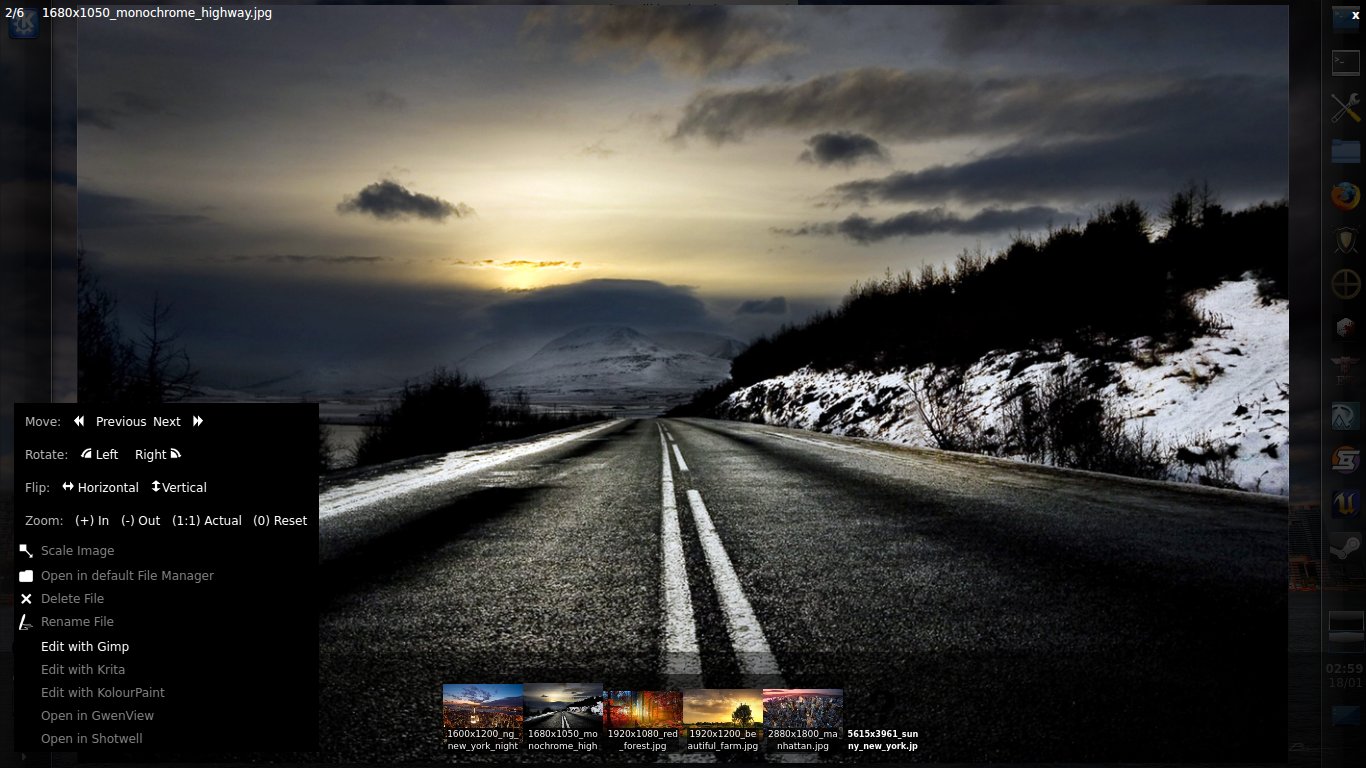
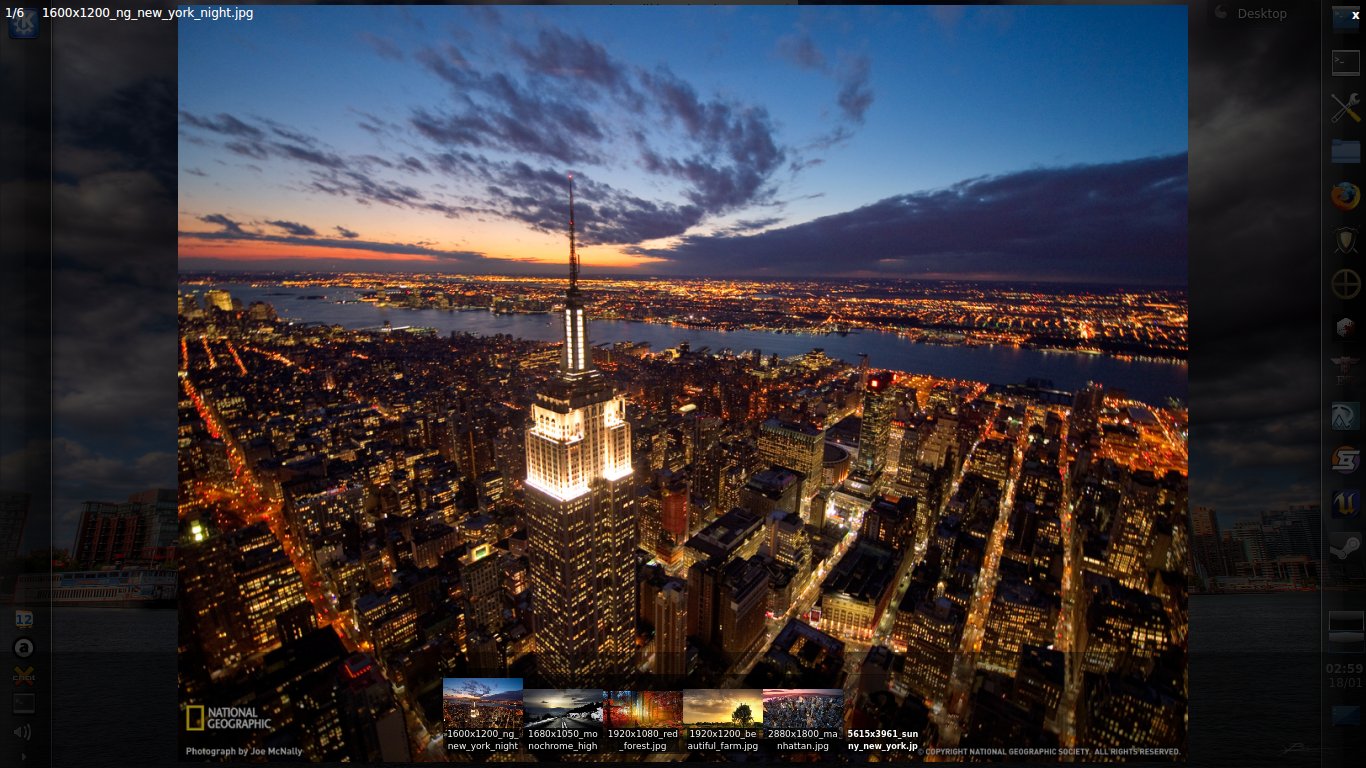
To show information about the currently display image move the mouse pointer to the left side of the screen, while the quick settings and settings dialogs can be displayed by moving the mouse pointer to the right side of the screen:

Install PhotoQt 1.2 in Ubuntu 14.04, 14.10 and Mint 17
There is a repository for the latest release of PhotoQt, however at the time of writing it only includes version 1.1. Once it will be updated, you will be able to install it using:
sudo add-apt-repository ppa:samrog131/ppa
sudo apt-get update
sudo apt-get install photoqt
To install from source, follow the next steps:
1. Get the source code from here (direct link here) and uncompress it:
tar -xf photoqt-1.2.tar.gz
2. Install the dependencies:
sudo add-apt-repository ppa:samrog131/ppa
sudo apt-get update
sudo apt-get build-dep photoqt
sudo apt-get install libqt5svg5-dev
3. Change the directory to photoqt-1.2 and type:
mkdir build && cd build
cmake ..
make
sudo make install
Alternatively, you can specify an installation prefix and install as normal user:
mkdir build && cd build
cmake .. -DCMAKE_INSTALL_PREFIX=$HOME/usr
make
make install
In this case the photoqt binary will be installed inside the usr directory from your $HOME folder.
Will this work on/in Raspberry Pi? If yes, what are the install commands? Thank you,
I don’t own a Raspberry Pi but it should work if you compile it yourself. The commands mentioned should do (I guess if it’s based on Debian, instead of “sudo” type “su”, login as root and install it that way).
If you run Arch Linux Arm, it can be as simple as grabbing a compile script from AUR (aur.archlinux.org), change the architecture to armv6h in the PKGBUILD-file and then run makepkg :) (Not a secret that I am a very big fan of Arch Linux)